

What Is Zentangle?
Zentangle, a mindful way of drawing, is a fun and easy way to deal with stress, reduce anxiety and create a sense of calm. You achieve this by creating beautiful patterns using simple strokes. it’s accessible to everyone, young and old.
Husband-and-wife team Rick Roberts and Maria Thomas created Zentangle in 2003. Maria, a professional artist, was working on an illuminated manuscript that featured big letters decorated with gold and patterns. Until Rick interrupted Maria, she had been lost in the activity, completely in peace and 100 per cent focused. She told Rick she had been completely free of worries and was unaware of how much time had passed.
Rick, who had spent 17 years as a Buddhist monk, realised his wife had been in a meditative state. They realised just how meditative and calming it was to be mindfully focused on drawing repeated, deliberate, slow strokes and set out to find out if they could create a way to bring Maria’s feeling of calm to other people.
One Stroke At A Time
What they created was Zentangle, an artform and practice that has touched the hearts of many people across the world. In fact, there are now more than 3,000 certified Zentangle teachers in over 40 countries. I’m so privileged to be one of them!
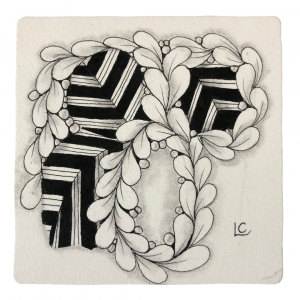
I discovered Zentangle in 2017 and have never looked back. A method of drawing mindfully, it is usually drawn on 3.5-inch square tiles. “One stroke at a time” is the key.
Unlike some other artworks, you don’t set out with an idea of how it might look once it’s finished. Although you will end up creating something beautiful, you can enjoy the process just as much as the outcome.
There Is No Up And Down To Zentangle
You are only required to be able to draw “Elemental Strokes” to do Zentangle. That means young children can do it.
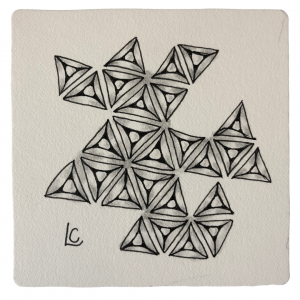
These elemental strokes – which look similar to the letters i, c, o and s – are used together to create beautiful images by drawing structured patterns. We call these patterns tangles.
There is no up or down to Zentangle art. You just need to know the steps. When you move through these steps, you find yourself winding down, more focused and simply enjoying creating.
If you’d like to read more about the origins, please visit www.zentangle.com for newsletters and blogs.


The Zentangle Method
1 - Gratitude and Appreciation
Find somewhere comfortable to draw, take a few deep breaths and take the moment to feel gratitude and appreciation. You could be thankful that you’ve acquired this beautiful paper to tangle on, or for the pen that you are using. Maybe you’re just glad that you have given yourself a moment to yourself to create beautiful artwork
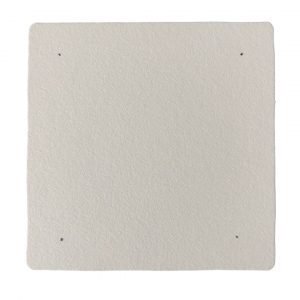
2 - Corner Dots
Sitting in front of a blank piece of paper can be daunting. We get too much into our own heads and worry that what we produce won’t be any good. Zentangle has a trick for tackling this. Before doing anything else, use your pencil to put a light dot in each corner about a pen’s width from the edges. Ta-dah! You’re now no longer looking at a blank piece of paper.
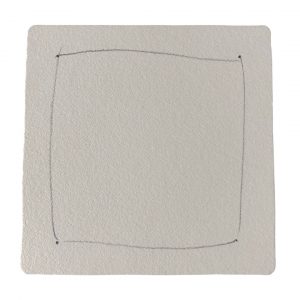
3 - Border
Join the dots with a light pencil line, straight or curvy, to create a square. You now have a border.
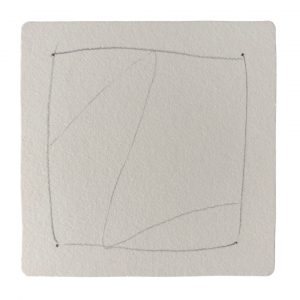
4 - String
Inside the border, draw a light pencil line or lines to make what we call a “string.” This is simply to separate your tile into sections, into which you draw your tangles – or leave blank, if you prefer. A string can be any shape. It may be a curvy or quite angular. You can choose whether or not it touches the border.
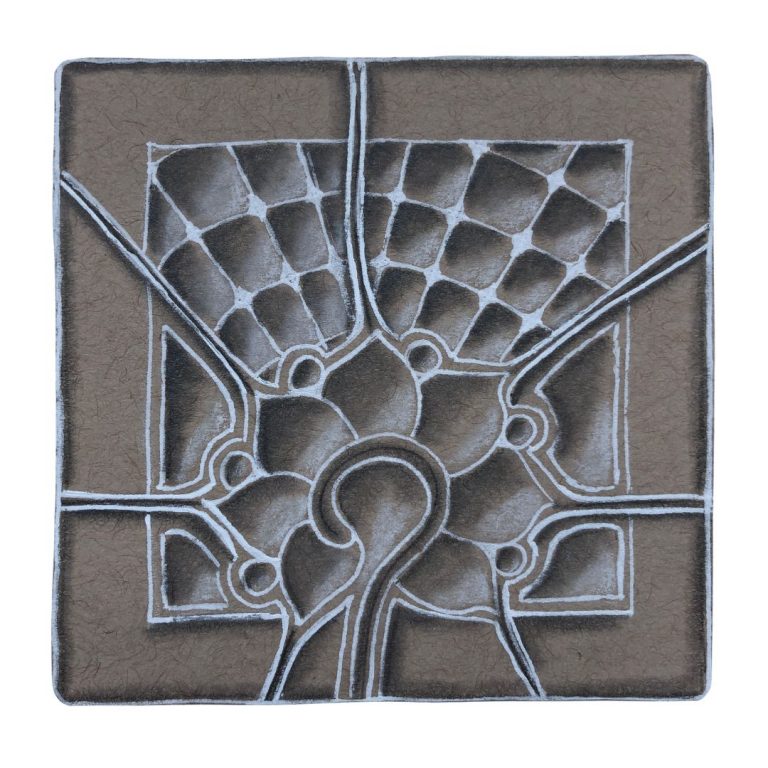
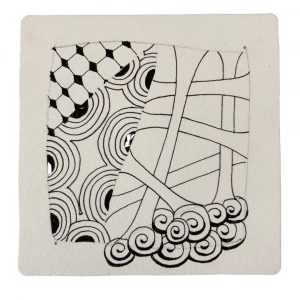
5 - Tangle
A tangle is a series of strokes that make up a pattern. Draw your tangles in pen inside – or sometimes outside – the pencil strings and borders. Tangle is both noun and verb. You tangle a tangle, you don’t Zentangle a tangle. Be very deliberate about each stroke you put on your page. Don’t be concerned about how it’s going to look. The important thing is to take each step at a time – or rather one stroke at a time. Turn your tile this way and that so that you always feel comfortable while drawing.
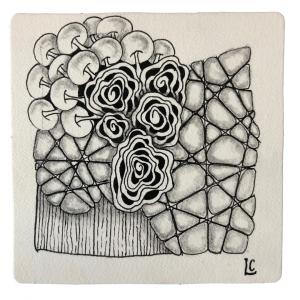
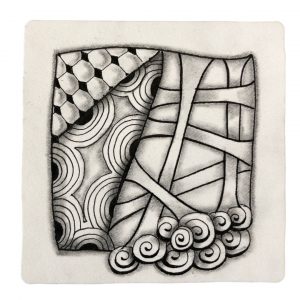
6 - Shade
Once your tangles are complete, it’s time to add some dimension with shading. Add shades of gray with a pencil to add contrast and bring your tile to life. Use a blending stump (tortillion) to soften and blend the graphite and remove any harsh lines.
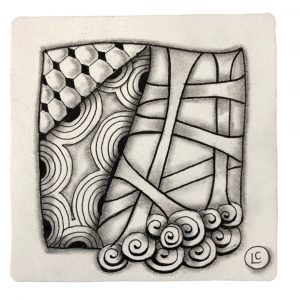
7 - Initial and Sign
This is your artwork and you should be proud of it, so own it. Put your initials on the front (many tanglers create a unique monogram or “chop” for this step). On the back, place your name, date, comments and observations.
8 - Appreciate
Hold your tile at arm’s length. You just created something beautiful. Allow yourself to feel proud of that.
Have any questions? Feel free to drop me a line.